I often walk round Dianthus taking photos and occasionally record progress using video. I’ve got a drone which I’ve not deployed yet but intend to use over the next few weeks to record videos as the external finishing takes shape.
To build a low energy house, you have to aim for air tight construction. There are several things that happen to get to this point. Basically, you need to have an airtight layer which has been detailed in the architecture plan and section detail. We have pressure tests coming up shortly to test the airtightness.
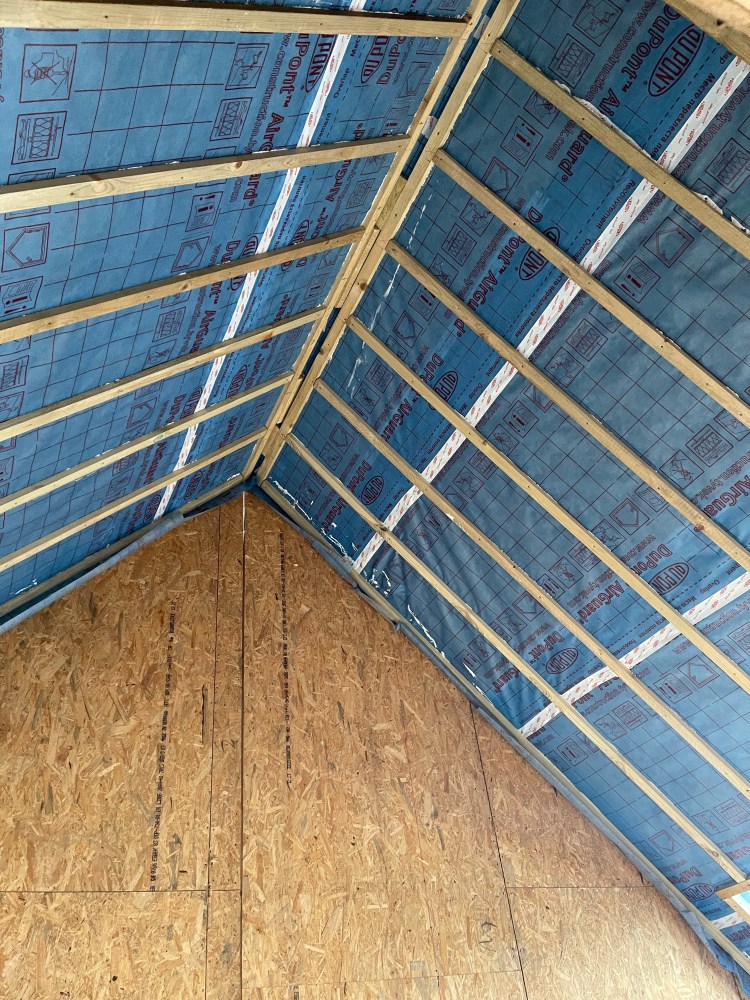
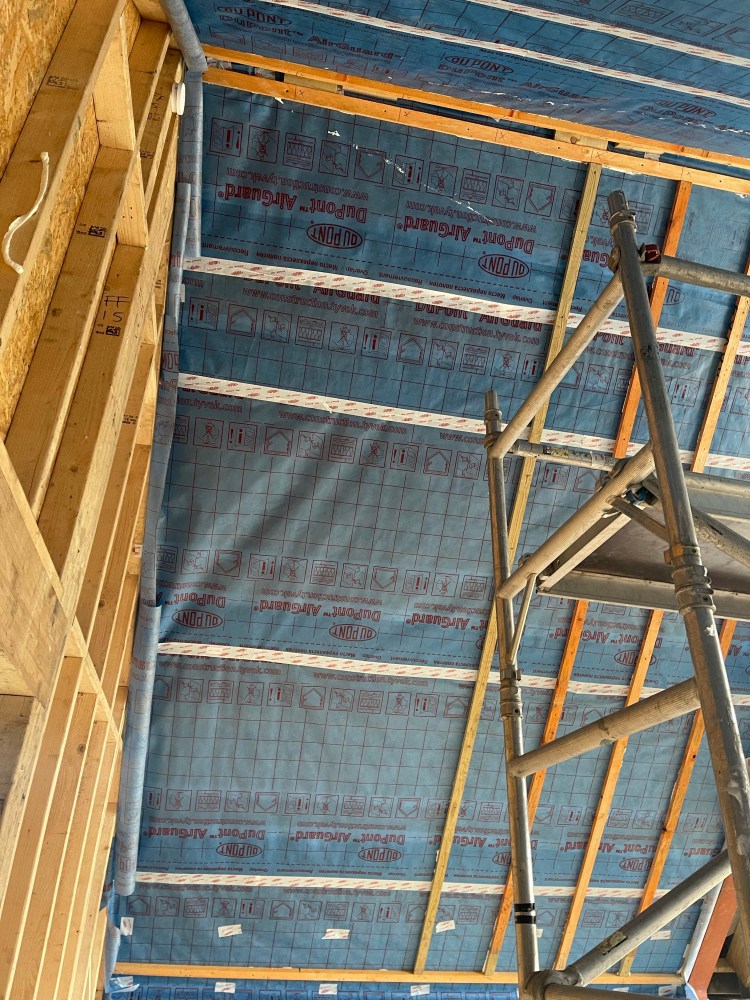
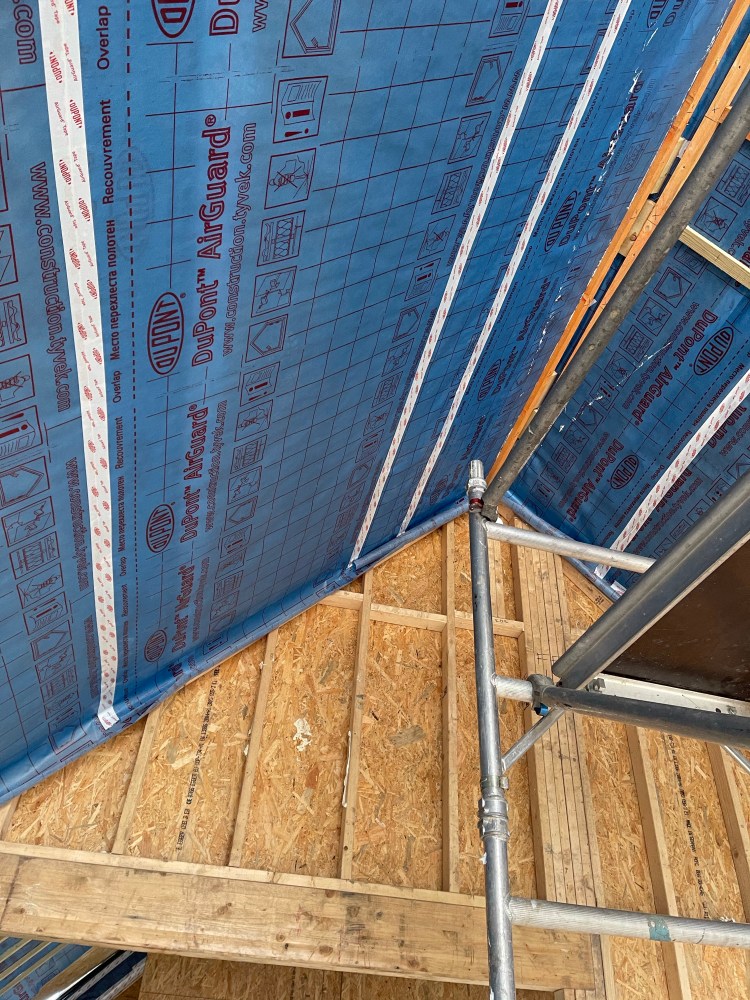
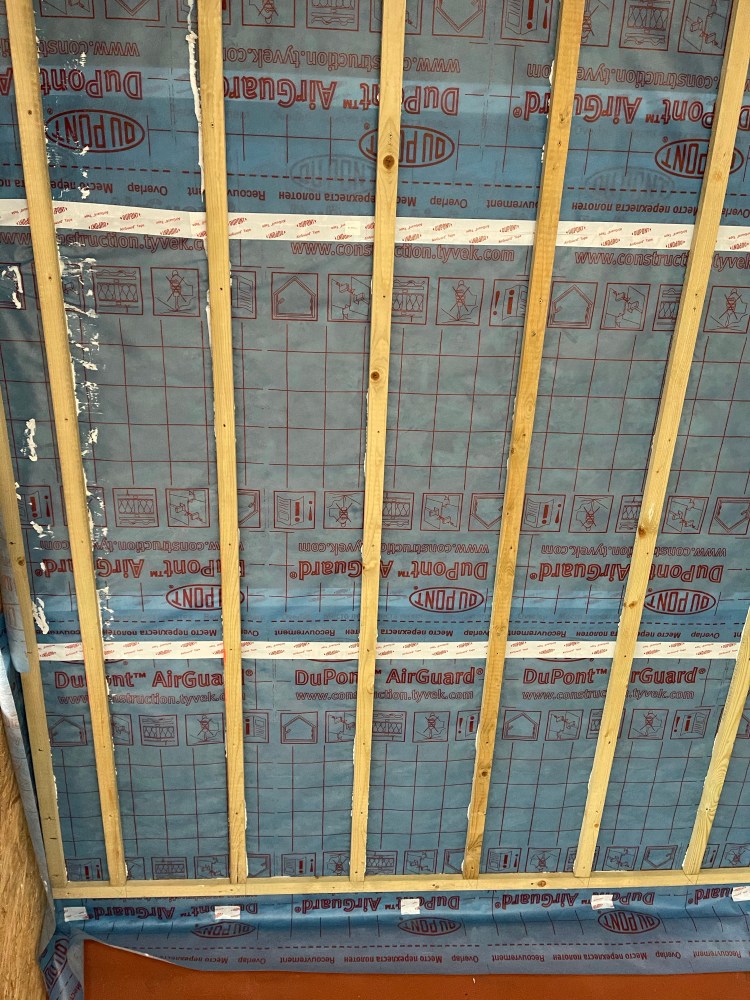
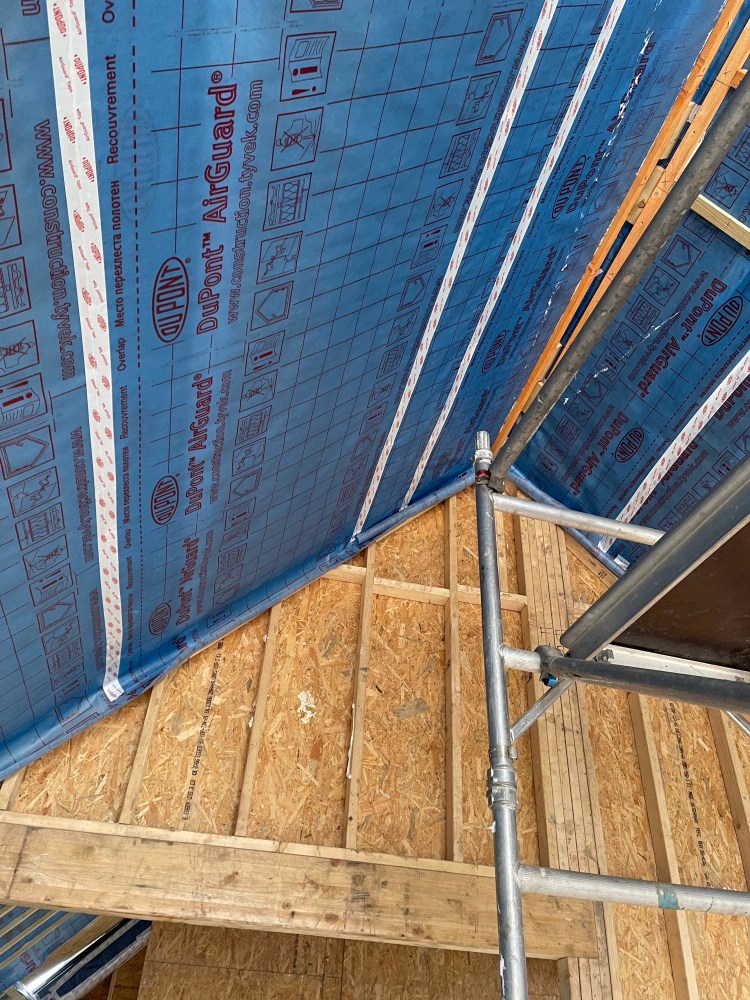
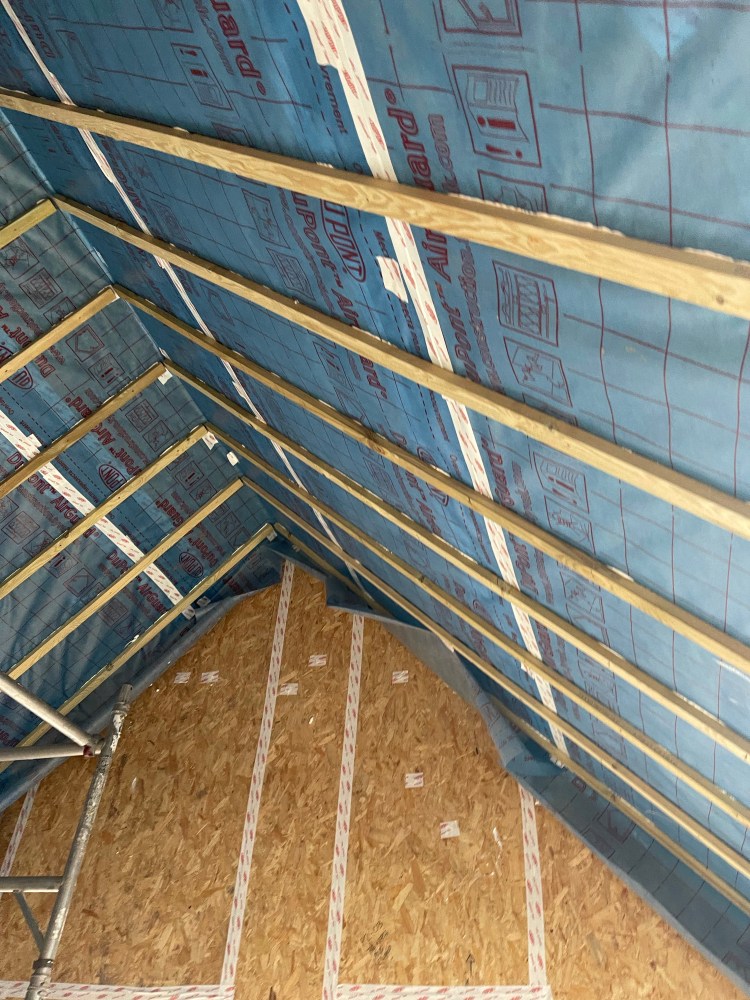
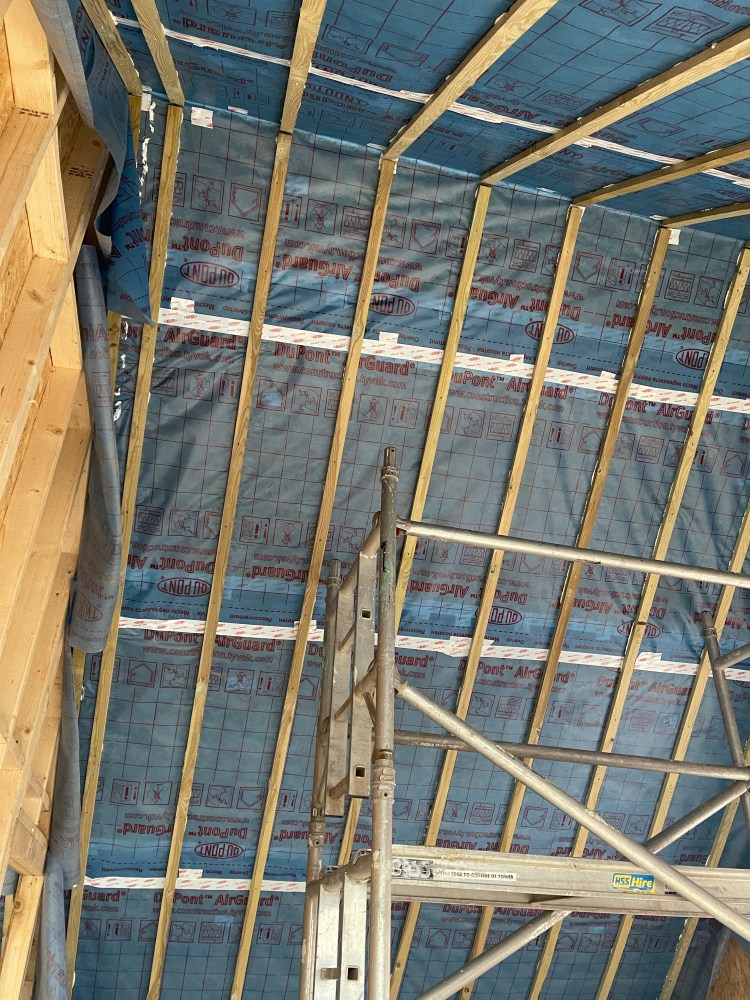
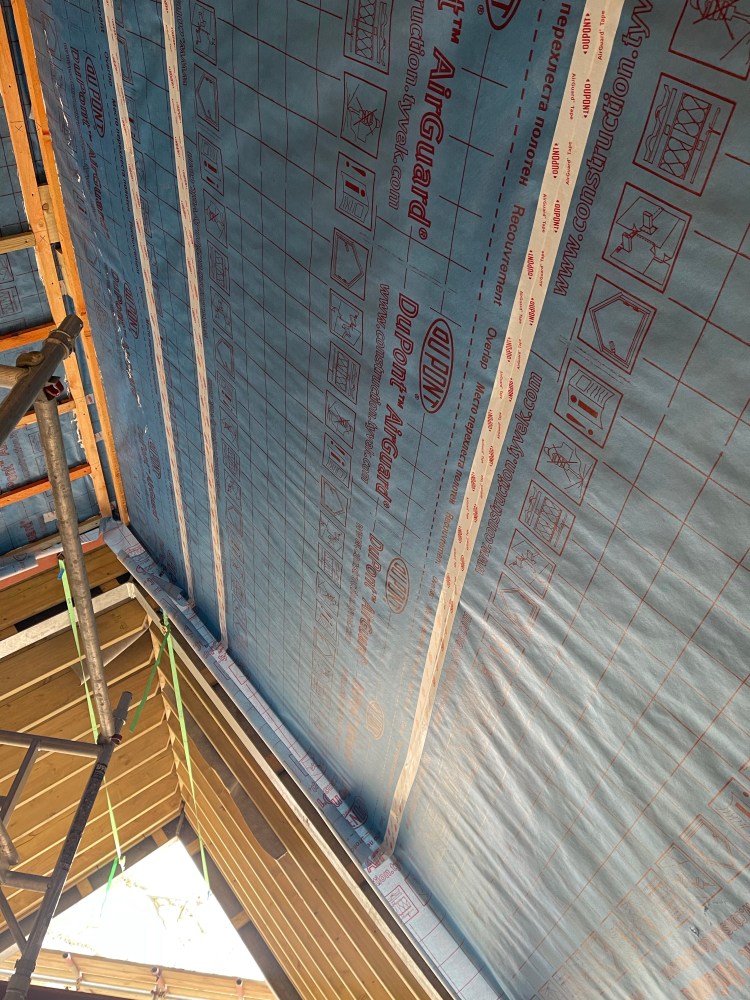
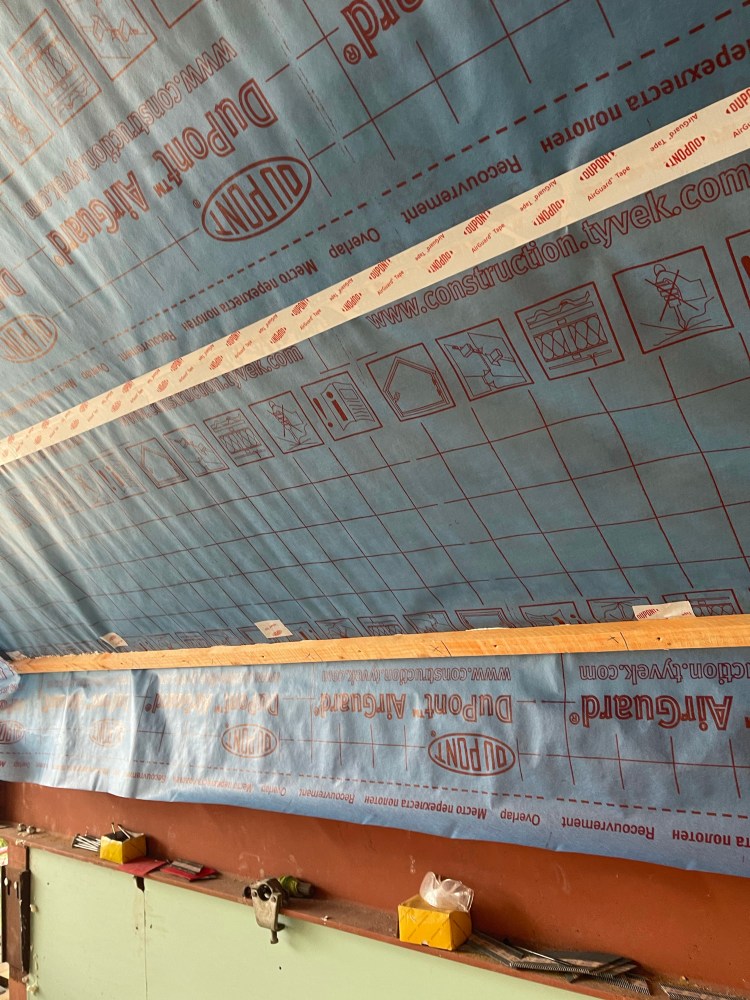
I’m going to describe what has been done in layman’s terms. So we’ve fixed strips of vapour-barriers and wind barriers to the SIP roof and the walls of the ground floor, first floor walls and SIP roof.
The overlapping breather membranes have been sandwiched between counter battens all the way round. This way, you’re preventing penetration through the airtight layer.

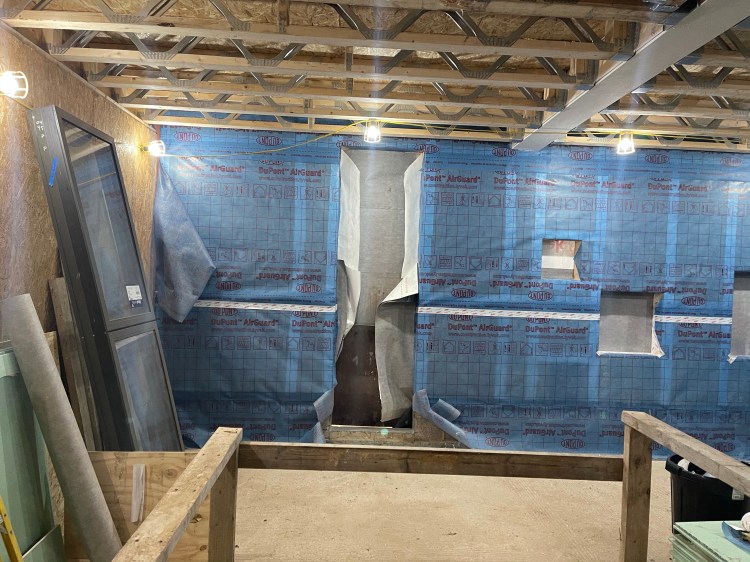
Airtightness Treatment 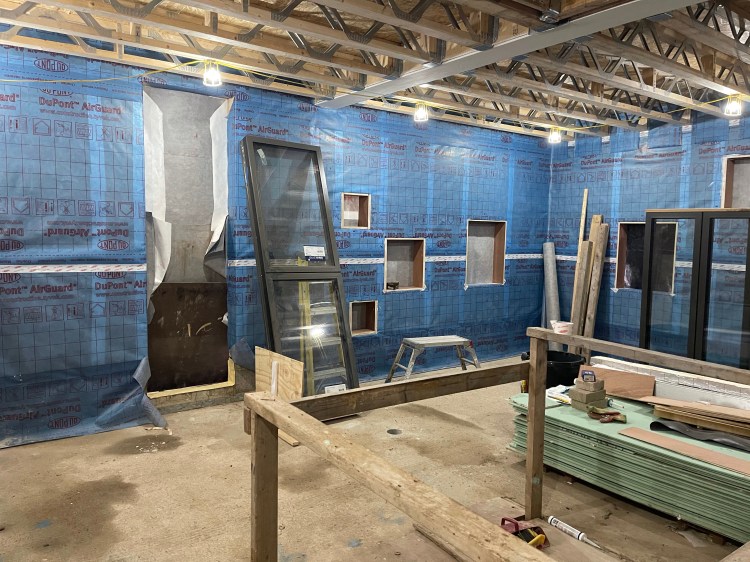

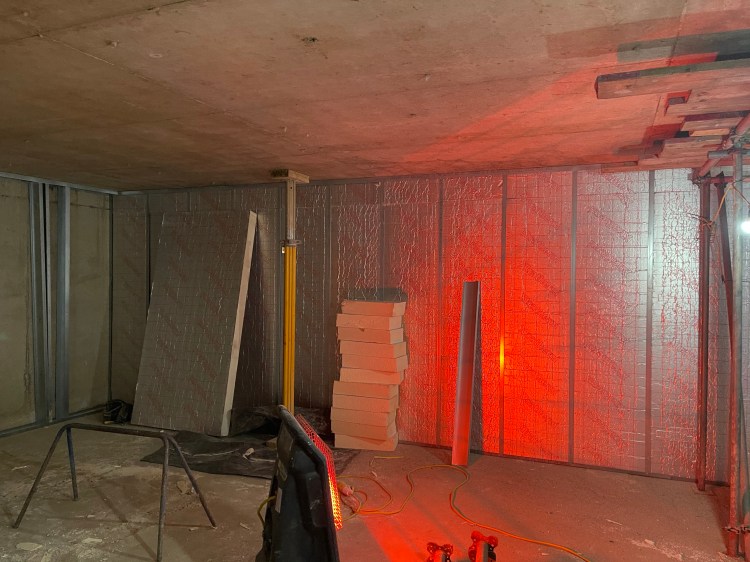
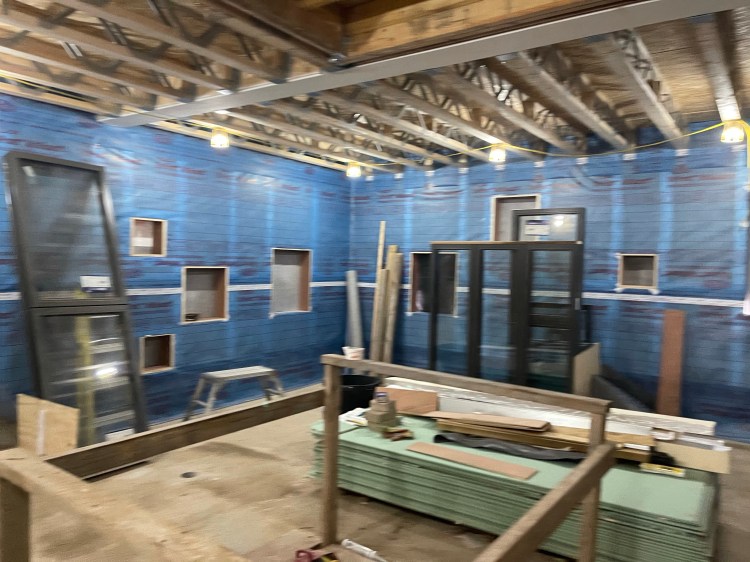
Airtight Treatment
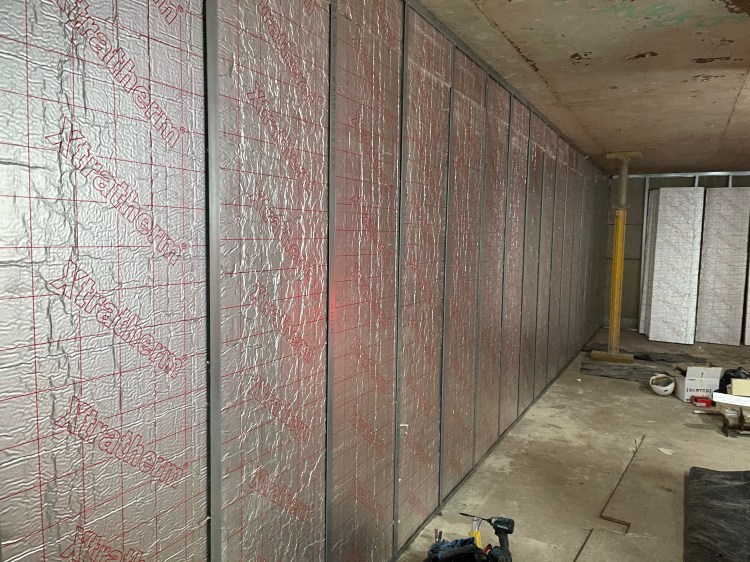
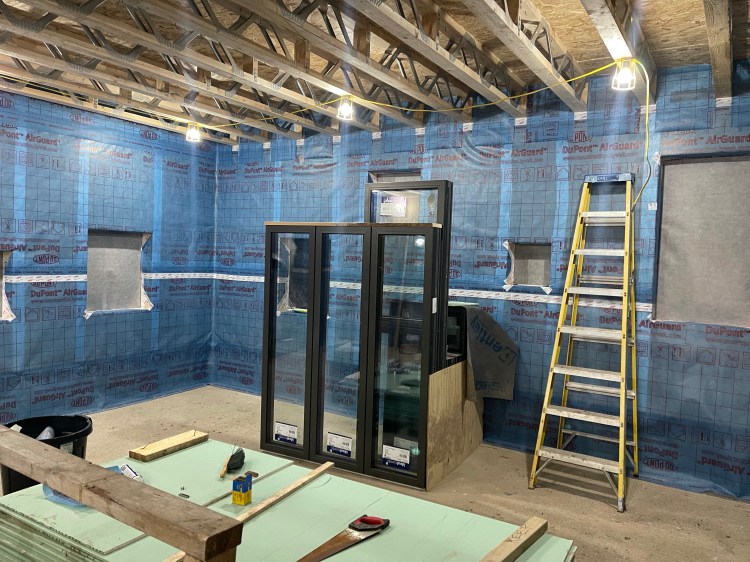
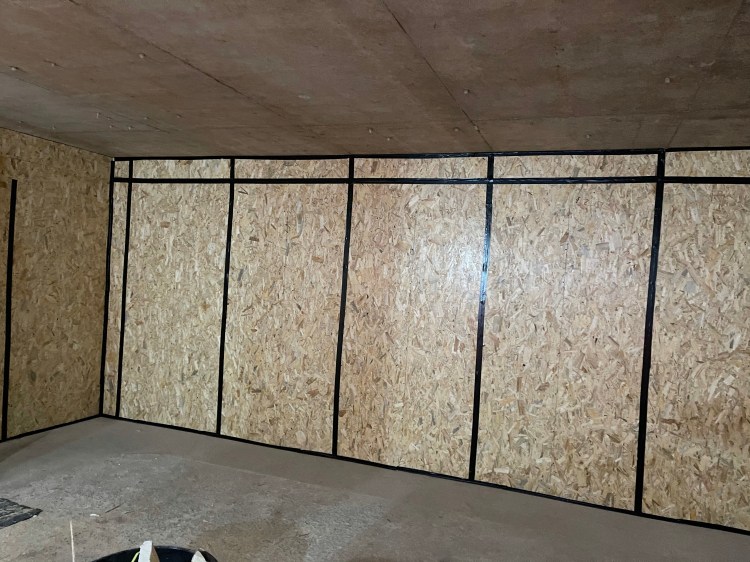
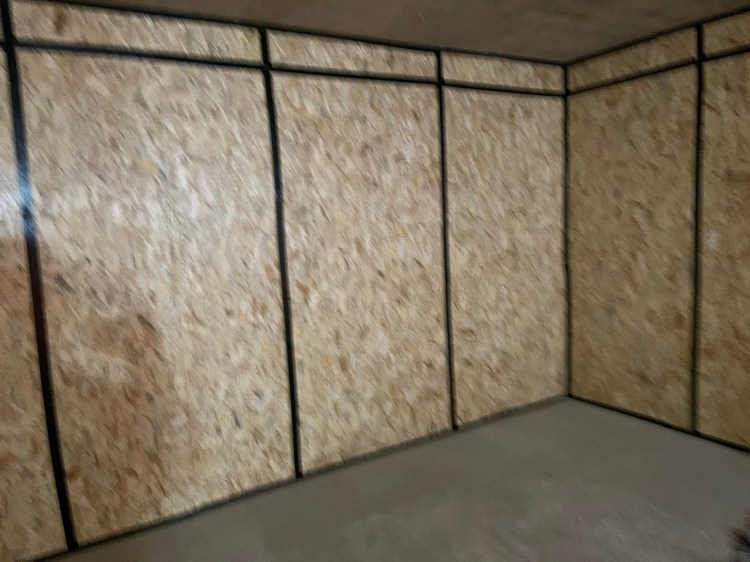
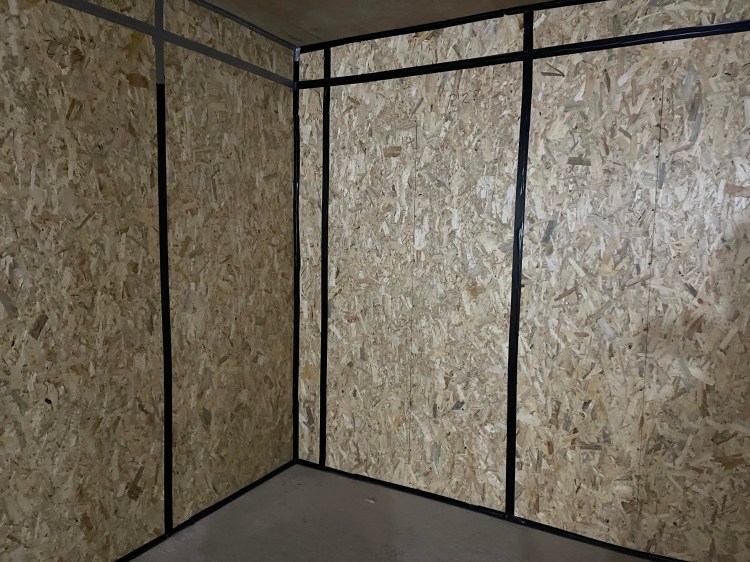
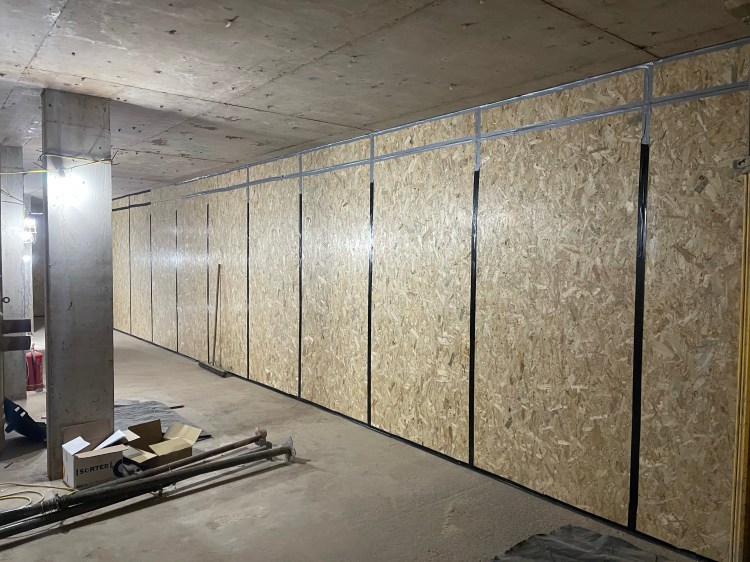
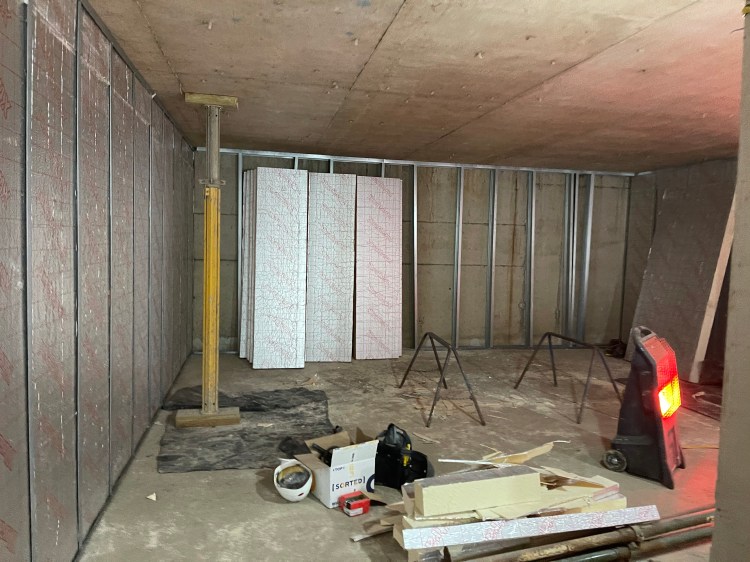
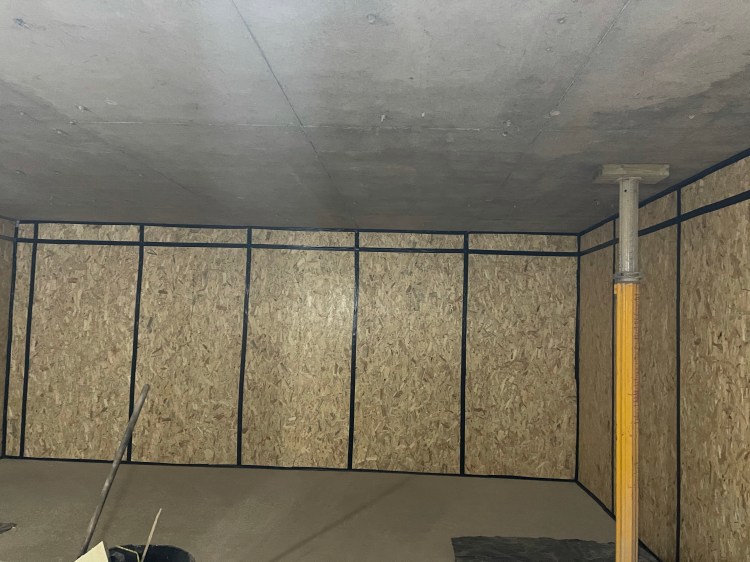
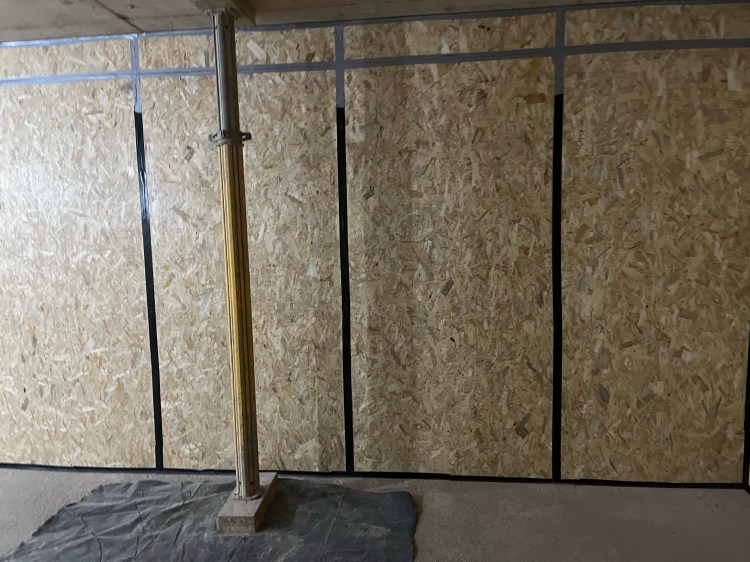
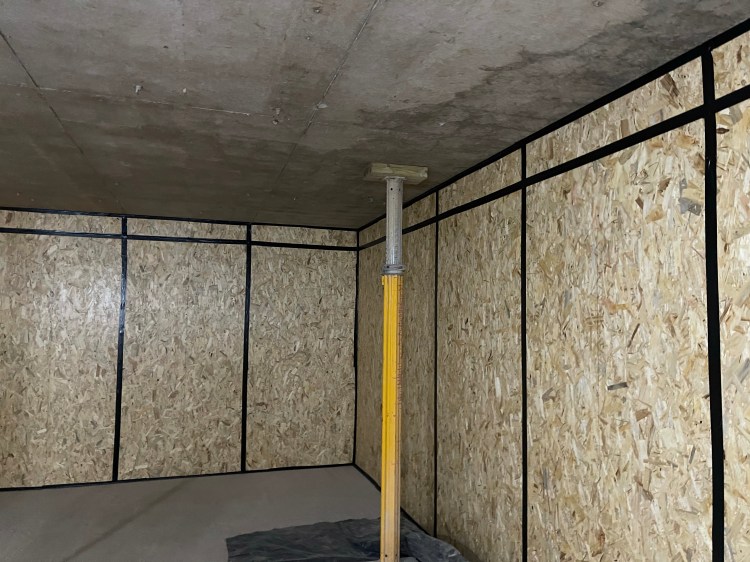
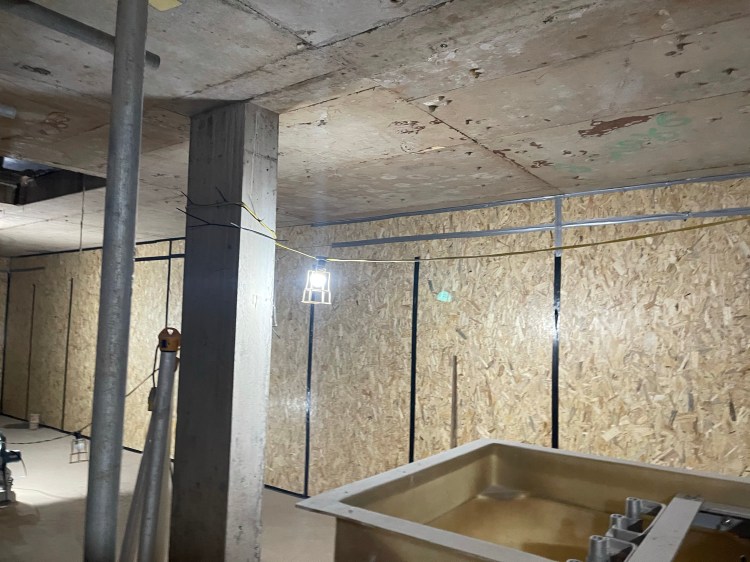
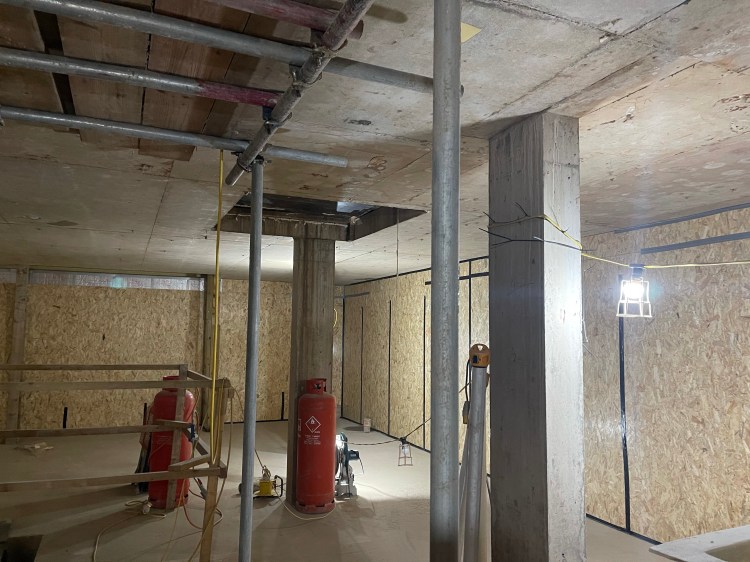
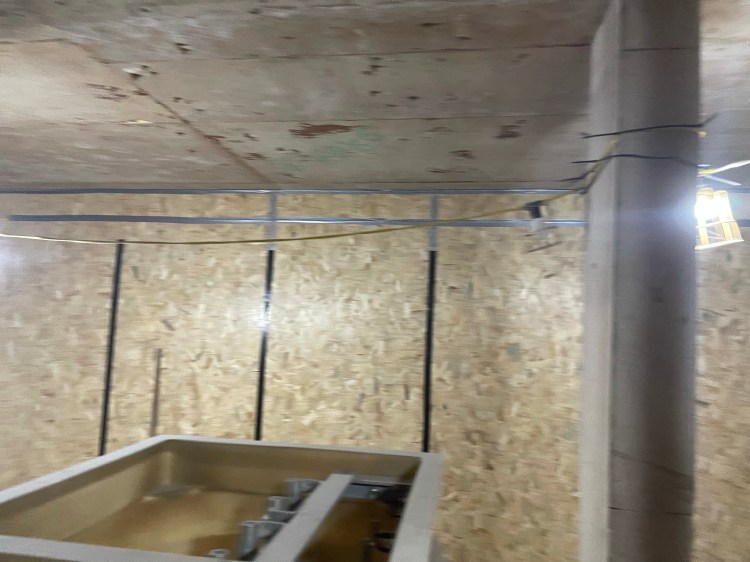
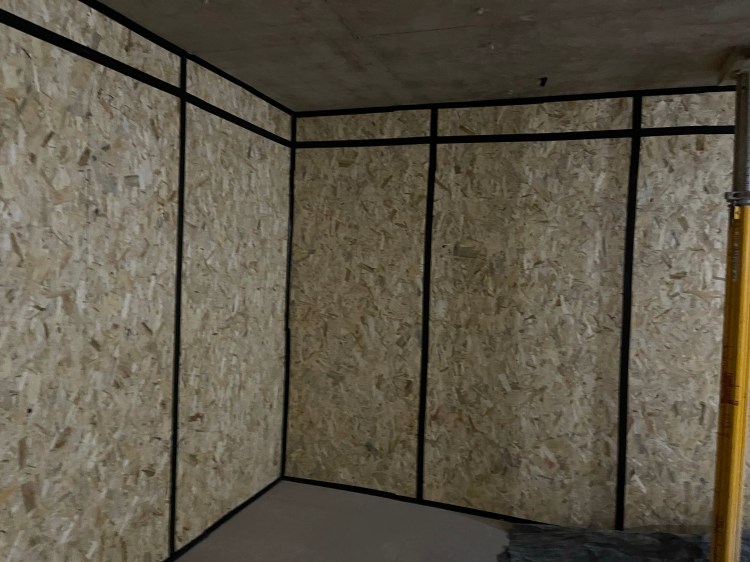
Internal Wall Finishing
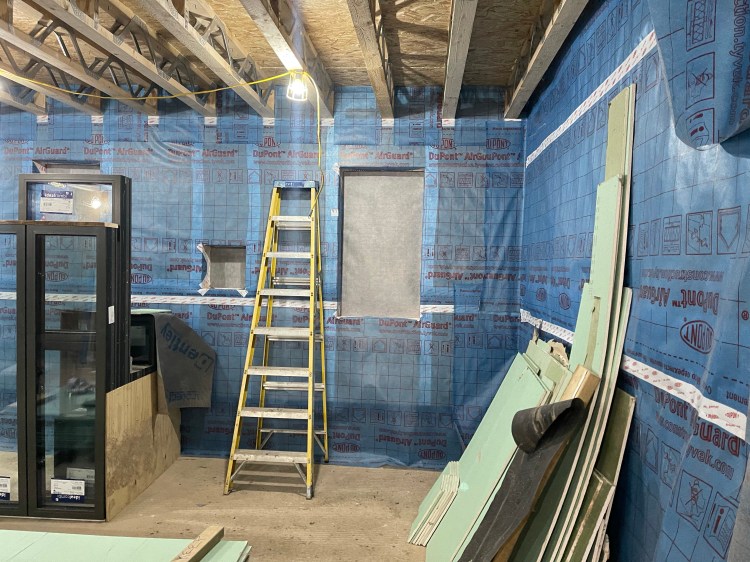
Once you’ve applied the airtight treatment, in a SIP superstructure like ours, dry-lining tends to be the choice. This in essence consists of installing the breather membrane around the building then you put the stud-walls in front of them with a plasterboard/plywood added on top. This always allows for services to go through the wall as well as channels for the MVHR ducts as well.
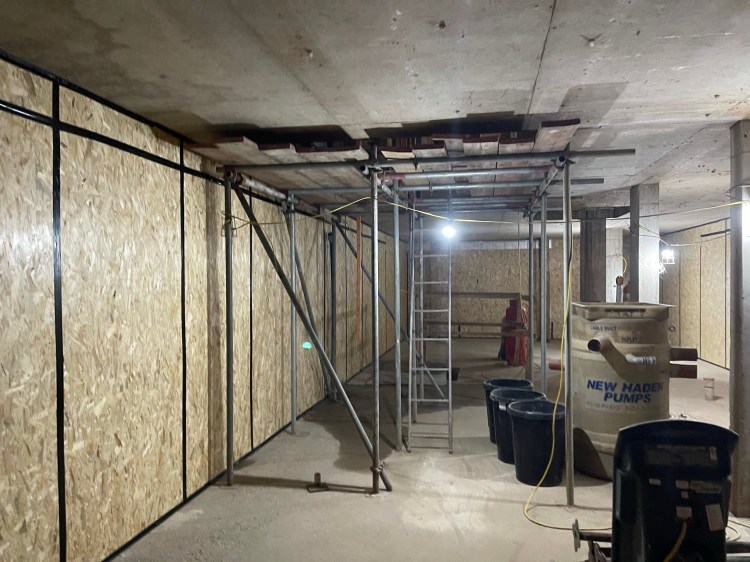
I recorded a couple of videos this week of the installation of the stud-walls to the basement as well as the airtight treatment to the first and ground floor.
The basement stud-wall installation is now complete. The underfloor heating pipes and the screed will be installed next week. The other floors follow as we’re now well and truly into first fix.
I took a couple of videos yesterday showcasing where the construction is at. Please note, I wear my mask when I go on site so you’ll notice a lot of heavy breathing behind the mask. I’m sorry.
